


How to Build PC for Stock Trading
Are you looking to get into stock trading? If so, you'll need a PC to handle the job's demands. In this article, we'll show you how to build a PC for stock trading that will help you get the most out of your trading activities.
First, let's take a look at the hardware you'll need. You will need a fast CPU, plenty of RAM, and a fast internet connection for stock trading. You'll also need a large monitor to see all the information you need at a glance.
Here's a list of the hardware you'll need for your stock trading PC:
- CPU: Intel i5-11400K - this is one of the fastest CPUs on the market and is perfect for stock trading.
- RAM: 32GB of DDR4 RAM - this will ensure that your PC can handle the demands of stock trading.
- Storage: 1TB SSD - this will give you plenty of space for storing all your stock trading data.
- Graphics card: NVIDIA GeForce - this powerful graphics card will allow you to see all the information you need clearly.
- Monitor: Dell UltraSharp U2713HM 27-Inch LED-Lit Monitor - this monitor is large enough to see all the information you need at a glance.
- Keyboard: Corsair K70 RGB Rapidfire Mechanical Gaming Keyboard - this keyboard is fast and responsive, perfect for stock trading.
- Mouse: Logitech G900 Chaos Spectrum Wireless Gaming Mouse - this mouse is fast and accurate.
- Headset: Sennheiser GAME ONE Gaming Headset - this headset will allow you to hear all the information you need while trading.
Now that you have all the hardware you need, it's time to put it all together. Here's a step-by-step guide on how to build your stock trading PC:
Build Stock Trading PC

Are you looking for a complete guide to building your first stock trading pc? If so, this guide is for you. It will take you through the entire process from start to finish, and by the end, you'll have a fully functioning PC.
The first thing you need to do is gather all of the parts you'll need. You can find a list of everything you need here. Once you have the parts, it's time to start putting everything together.
The motherboard should first be set up on a flat surface. If you're unsure which side is up, look for the writing that says "this side up." Once the motherboard is in place, it's time to install the CPU.
Refer to your motherboard's manual to find the correct socket for your CPU. Once you've found the correct socket, carefully insert the CPU into it. Make sure that it is properly seated and secure before moving on.
Next, you'll need to install the CPU cooler. Again, consult your motherboard's manual to find the correct socket for your CPU cooler. Once you've found the correct socket, carefully insert the CPU cooler into it. Make sure that it is properly seated and secure before moving on.
Now it's time to install the RAM. Find the correct slots on the motherboard and insert the RAM sticks into them. Make sure that they are correctly seated and secure before moving on.
Now it's time to install the graphics card. Find the correct slot on the motherboard and insert the graphics card into it. Make sure that it is properly seated and secure before moving on.
The cables should now all be connected. Start with the power supply. Join the mainboard and power supply using the 24-pin ATX cable. Next, attach the 8-pin EPS power connector to the motherboard. Finally, connect the 4+4-pin CPU power connector to the motherboard.
Cables
Next, you'll need to connect the data cables. Connect the SATA data cables to the motherboard and to the hard drives. Then connect the power cables to the hard drives.
Now it's time to connect the case cables. These include the power switch, the reset switch, the power LED, the HDD LED, and the USB ports.
Finally, it's time to connect the monitor. Connect the video cable to the graphics card and the monitor. Then connect the power cable to the monitor.
Now that everything is connected, it's time to power on the PC. Press the power button, and you should see if everything is working correctly on the BIOS screen.
If you see the BIOS screen, your PC is up and running. Congratulations, you've just built your first best PC for trading!
Things to Consider for Stock Trading PC
When it comes to custom PC build, there are a few things you need to know before making your final decision. Building a custom PC can be a great way to get exactly what you want, but it also requires more work than buying a pre-built system. Here are a few things you should keep in mind if you're considering building a custom PC:
1. Know Your Budget
One of the first things you need to do when considering building a custom PC is to figure out your budget. How much are you willing to spend on your new system? This will help you determine what kind of components you can afford, and it's also important to consider future upgrades.
2. Consider Your Needs
When building a custom PC, it's important to consider your needs. What sorts of games are you interested in playing? What other software do you need? Identifying your requirements is the first step in refining your search.
3. Choose Your Components
Choosing your components is one of the most important parts of building a custom PC. Having so many possibilities available is both exciting and daunting. However, if you take the time to research your options and choose carefully, you'll have a system that meets your needs and fits your budget.
4. Assemble Your PC
Once you've chosen your components, it's time to assemble your PC. This can be daunting, but plenty of resources are available to help you. If you're not comfortable doing it yourself, you can always hire someone to do it for you.
5. Test Your System
After you've assembled your trading PC, it's important to test it out. Make sure everything is working properly, and that you're happy with the results. Once you've done that, you're ready to enjoy your new system!
Building your custom PC can be a great experience and save you money. Just remember that it's not for everyone and takes time, patience, and some technical know-how.
Posted 3 years agoComments
Latest Blogs
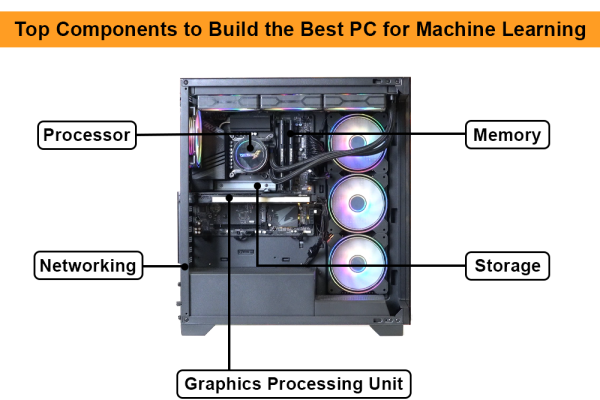
Top Components to Build the Best PC for Machine Learning Projects
Top Components to Build the Best PC for Machine Learning Projects
When it comes to building the best PC for machine learning, the right components can make all the...
Authored by: Armaan Posted at: 21 Jan 2025 .
View Post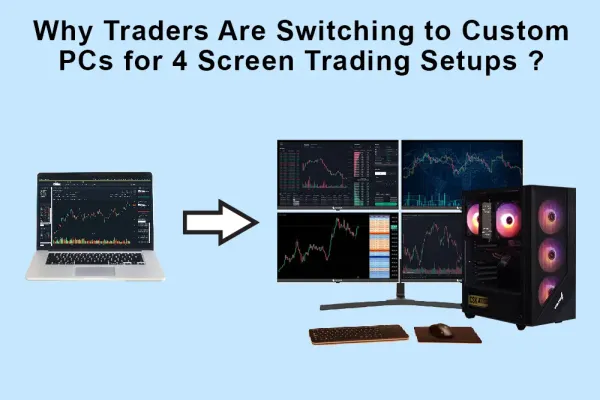
Why Traders Are Switching to Custom PCs for 4 Screen Trading Setups
Why Traders Are Switching to Custom PCs for 4 Screen Trading Setups
In the fast-paced world of trading, every second counts. Traders rely on advanced tools and setup...
Authored by: Armaan Posted at: 21 Jan 2025 .
View Post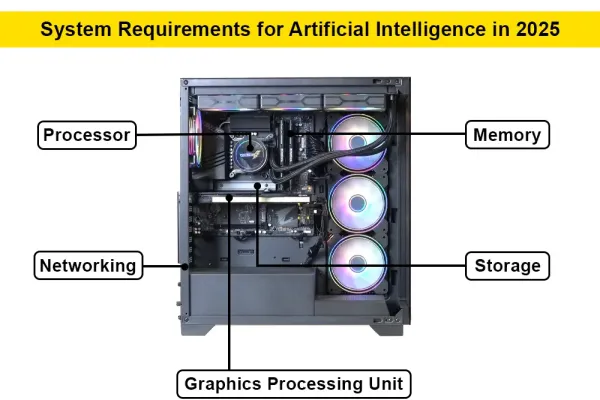
System Requirements for Artificial Intelligence in 2025
System Requirements for Artificial Intelligence in 2025
Artificial Intelligence (AI) continues to shape industries and redefine the boundaries of what&rs...
Authored by: Armaan Posted at: 21 Jan 2025 .
View Post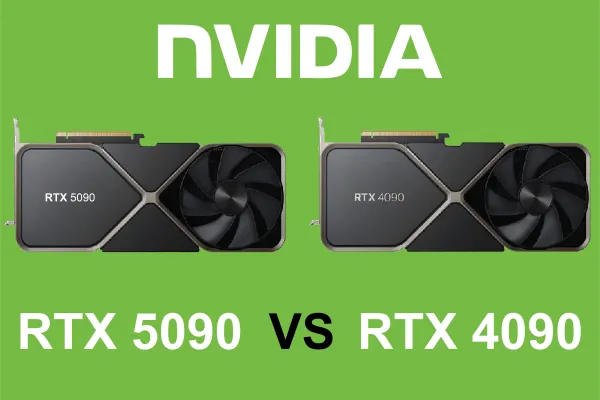
Nvidia GeForce RTX 5090 vs RTX 4090: A Detailed Comparison
Nvidia GeForce RTX 5090 vs RTX 4090: A Detailed Comparison
The Nvidia GeForce RTX 5090 has officially entered the gaming and professional graphics arena, pr...
Authored by: Armaan Posted at: 21 Jan 2025 .
View Post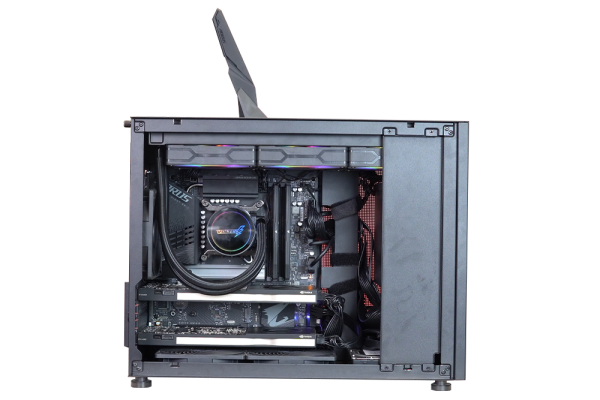
Why Every Aspiring Data Scientist Needs a Dedicated Machine Learning PC
Why Every Aspiring Data Scientist Needs a Dedicated Machine Learning PC
In today’s data-driven world, data science is at the forefront of technological innovation....
Authored by: Armaan Posted at: 18 Nov 2024 .
View Post
Trading Technology: How to Choose the Best PC for Your Investment Needs
Trading Technology: How to Choose the Best PC for Your Investment Needs
In the fast-paced world of trading, every millisecond counts, and having a powerful, reliable, an...
Authored by: Armaan Posted at: 18 Nov 2024 .
View Post
How to Choose the Right Power Supply for Your PC
How to Choose the Right Power Supply for Your PC
Choosing the right power supply for your PC is essential for ensuring reliable performance, syste...
Authored by: Armaan Posted at: 18 Nov 2024 .
View Post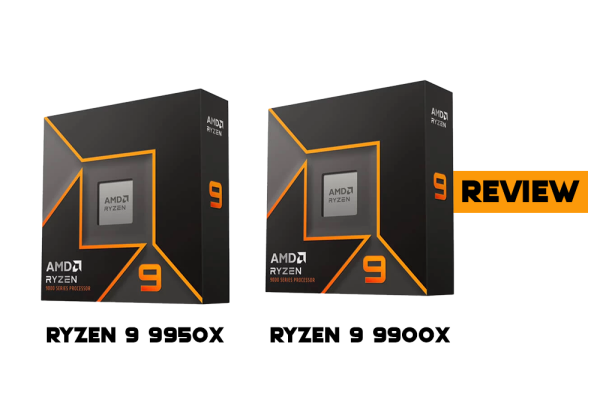
The AMD Ryzen 9 9950X and Ryzen 9 9900X Review: Flagship Zen 5 Soars - and Stalls
The AMD Ryzen 9 9950X and Ryzen 9 9900X Review: Flagship Zen 5 Soars - and Stalls
AMD has long been known for shaking up the processor market with its Ryzen series, offering incre...
Authored by: Armaan Posted at: 18 Nov 2024 .
View Post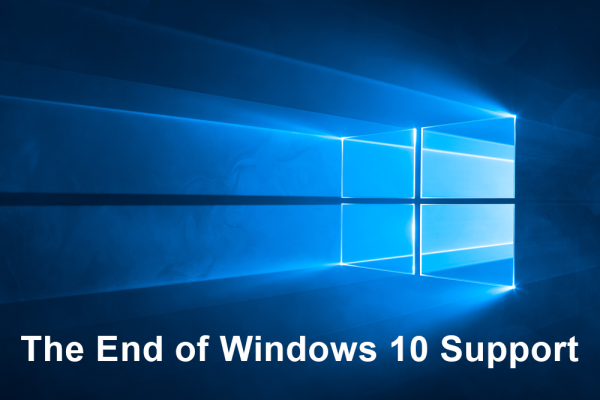
The End of Windows 10 Support: What You Need to Know
The End of Windows 10 Support: What You Need to Know
In the ever-evolving landscape of technology, software updates and operating system (OS) upgrades...
Authored by: Armaan Posted at: 11 Nov 2024 .
View Post
Gaming PC Security: How to Protect Your System from Cyber Threats in 2024
Gaming PC Security: How to Protect Your System from Cyber Threats in 2024
1: Understanding Cyber Threats to Gaming PCs Introduction to the Rising Cyber Threats in Gamin...
Authored by: Armaan Posted at: 11 Nov 2024 .
View Post